To transfer the treatment plan from the computer to the patient for surgery,it is critical to have a precise surgical template which is well-fitted on surrounding soft and hard tissue. To ensure this precision of fit, the 3D shape of the radiographic guide has to be correctly extracted from the corresponding (CB)CT image data. Therefore, the selection of the correct isovalue given to the radiographic guide is critical. The calibration procedure allows the software to automatically determine the most accurate isovalue.
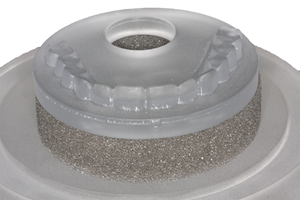
1. Check whether the object is damaged or not. If it is broken or scratched, it cannot be used.
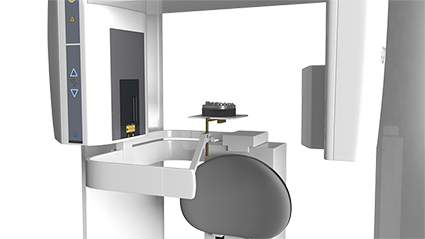
2. Position the sponge horizontally in the (CB)CT scanner.
3. Position the calibration object on top of the sponge.
1. Make a scout view.
2. Verify whether it is in the middle of the field of view.
3. Make sure it is entirely imaged.
4. Perform the scan as if it is the radiographic guide scan.
1. Make axial reconstructions. The slices must not be tilted in any way.
2. Verify whether the scan is of high quality.
3. Export the axial slices as uncompressed DICOM files. Each DICOM file should contain one axial slice.
The calibration scan should be repeated every six months, or every time the scanner has maintenance, updates, or upgrades. The calibration scan should also be repeated when the scan protocol is changed .
The calibration can be performed with any CT scanner, medical or cone beam that you use for NobelGuide scans.
As long as the object is not broken or scratched, you can use it.
In a dry, dark, ambient place. It cannot be cleaned with hot water, only with a slightly moist towel if needed.