 in
the Tools toolbar.
in
the Tools toolbar.Take a snapshot of the 3D or 2D scene and save it in the Patient Library, send it to the clipboard, save it to a file, or send it directly to the printer.
To take a snapshot of the 3D or 2D viewer:
1. Click Snapshot  in
the Tools toolbar.
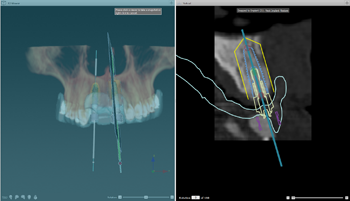
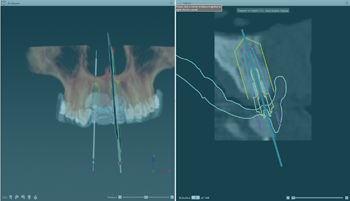
2. Hover over the viewer (3D or 2D) you want to take a snapshot of. It will turn blue.

3. Click the viewer.
Note
When the mouse cursor is positioned on the splitter between 3D and 2D viewer, both viewers will be captured in the snapshot.

4. The snapshot is taken, and the Snapshot window is displayed, showing a preview.
5. Define the snapshot destination:
|
Save to library: send the taken snapshot directly to the Patient Library. |
|
Export to file: save the snapshot with a chosen name in a specific location. |
|
Copy to Clipboard: to copy the current view into the clipboard. |
|
Print: send the snapshot directly to a predefined printer when taken. |
6. Click Close  to close the Snapshot window.
Note
When the system is in Snapshot mode, but you do not want to make a snapshot, right-click to cancel the action.