 in the Patient Mask toolbar. Alternatively, use the keyboard shortcut [I].
To indicate which part of the volume will be shown:
1. Click Isolate  in the Patient Mask toolbar. Alternatively, use the keyboard shortcut [I].
2. When hovering over the 3D viewer, the cursor will change into  .
.
3. Start drawing a polygon over the part of the model you want to be isolated.
— Click on the model with the left mouse button to create a point.
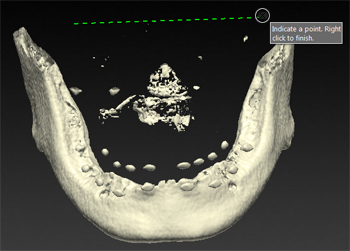
— Move the mouse and click to create a second point. The two points are linked with a green dotted line.

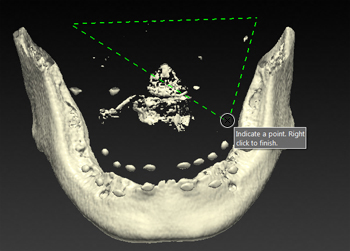
— Click on the model to create a third point. The green dotted line will change into a polygon.

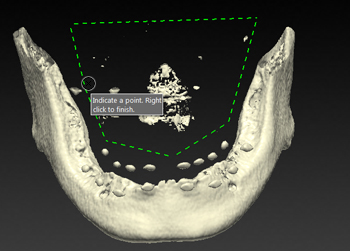
— Continue marking points until you have enclosed everything you want to isolate.

4. Right-click, or press [Enter], to finish.
5. Everything outside the polygon is removed from the displayed volume.
6. Click Finish to apply the changes to the model.