 in the Patient Mask toolbar. Alternatively, use the keyboard shortcut [A].
When too much of the volume has been removed, it is possible to include it again in the model.
1. Click Add  in the Patient Mask toolbar. Alternatively, use the keyboard shortcut [A].
2. The parts of the model that are available but not included in the actual rendered model - because they were cut away for example - are displayed in gray. The rendered model is still displayed and the selected transfer function is applied.
3. When hovering over the 3D viewer, the cursor will change into  .
.
4. Start drawing a polygon over the part of the model you wish to add.
— Click on the model to create a point with the left mouse button.
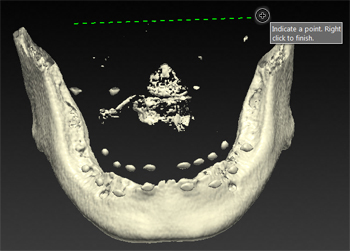
— Move the mouse and click to create a second point. The two points are linked with a green dotted line.

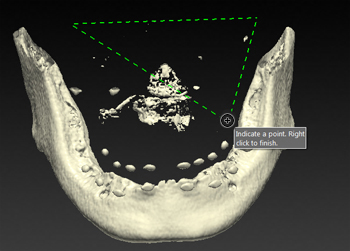
— Click on the model to create a third point. The green dotted line will change into a polygon.

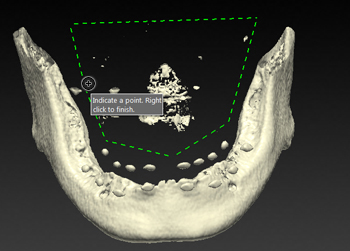
— Continue marking points until you have enclosed the part to be added to the model.

5. Right-click, or press [Enter], to finish.
6. Everything within the polygon is added to the displayed volume.
7. Click Finish to apply the changes to the model.