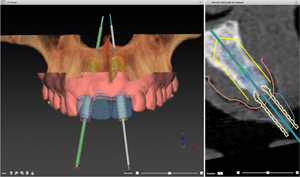
Implant workspace
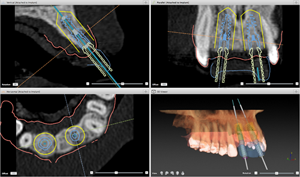
The 3D and 2D models are combined, thus providing an environment to define the ideal location of each implant.
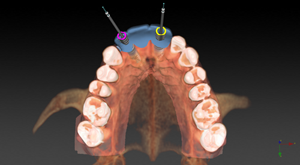
3D workspace
This full 3D workspace provides an advanced planner with the functionality to plan the desired implant treatment in 3D.
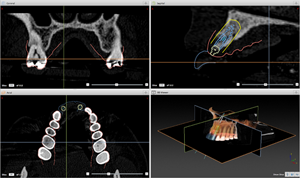
Reslice workspace
This workspace offers an overview to inspect the 3D CT images and diagnose a patient’s anatomy.
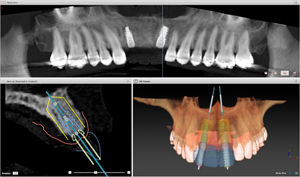
Panoramic workspace
Get an overview of the planned implant locations on this more traditional panoramic workspace, which is generated directly from the 3D (CB)CT data.
Cross-sectional workspace
Inspect the bone density in the surroundings of each placed implant or scroll along the curve in any direction.
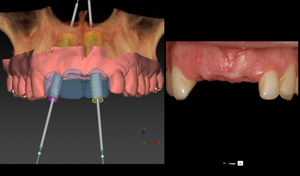
Image workspace
Compare the 3D patient model to clinical pictures of the patient when performing diagnostics or treatment planning.